
Installing Urbit (For Dummies)
Installing Urbit (For Dummies)
The Dummies guide to installing Urbit locally, and on the cloud

Welcome, Crypto Dummies!
For those of you that are new here, this substack focuses on educating those that know nothing about crypto and blockchain technology. If that’s you then you’re in the right place!
If you’ve been following this substack since its release, you’ll notice we made a couple of changes. Nothing to worry about just a slight rebrand to another fun bowtied cartoon!
Today we’re gonna dive a lot deeper into a personal favorite blockchain project,
Urbit.
Let’s refresh our memory a bit, what exactly is Urbit?
Urbit is a personal operating system and a revolutionary approach to bringing the power back to the user.
Urbit can be accessed via any standard web browser, but to do so, you must be running your own Urbit Server. Your Urbit server doubles as your identity and Urbit account.
Today we’re gonna teach you how to get started with Urbit, and how you can host your Urbit identity on a private virtual server.
Let’s get started!
Step 1: Obtaining an Urbit Identity
To get started with Urbit, an Urbit ID is required. There are 2 ways to obtain an Urbit ID.
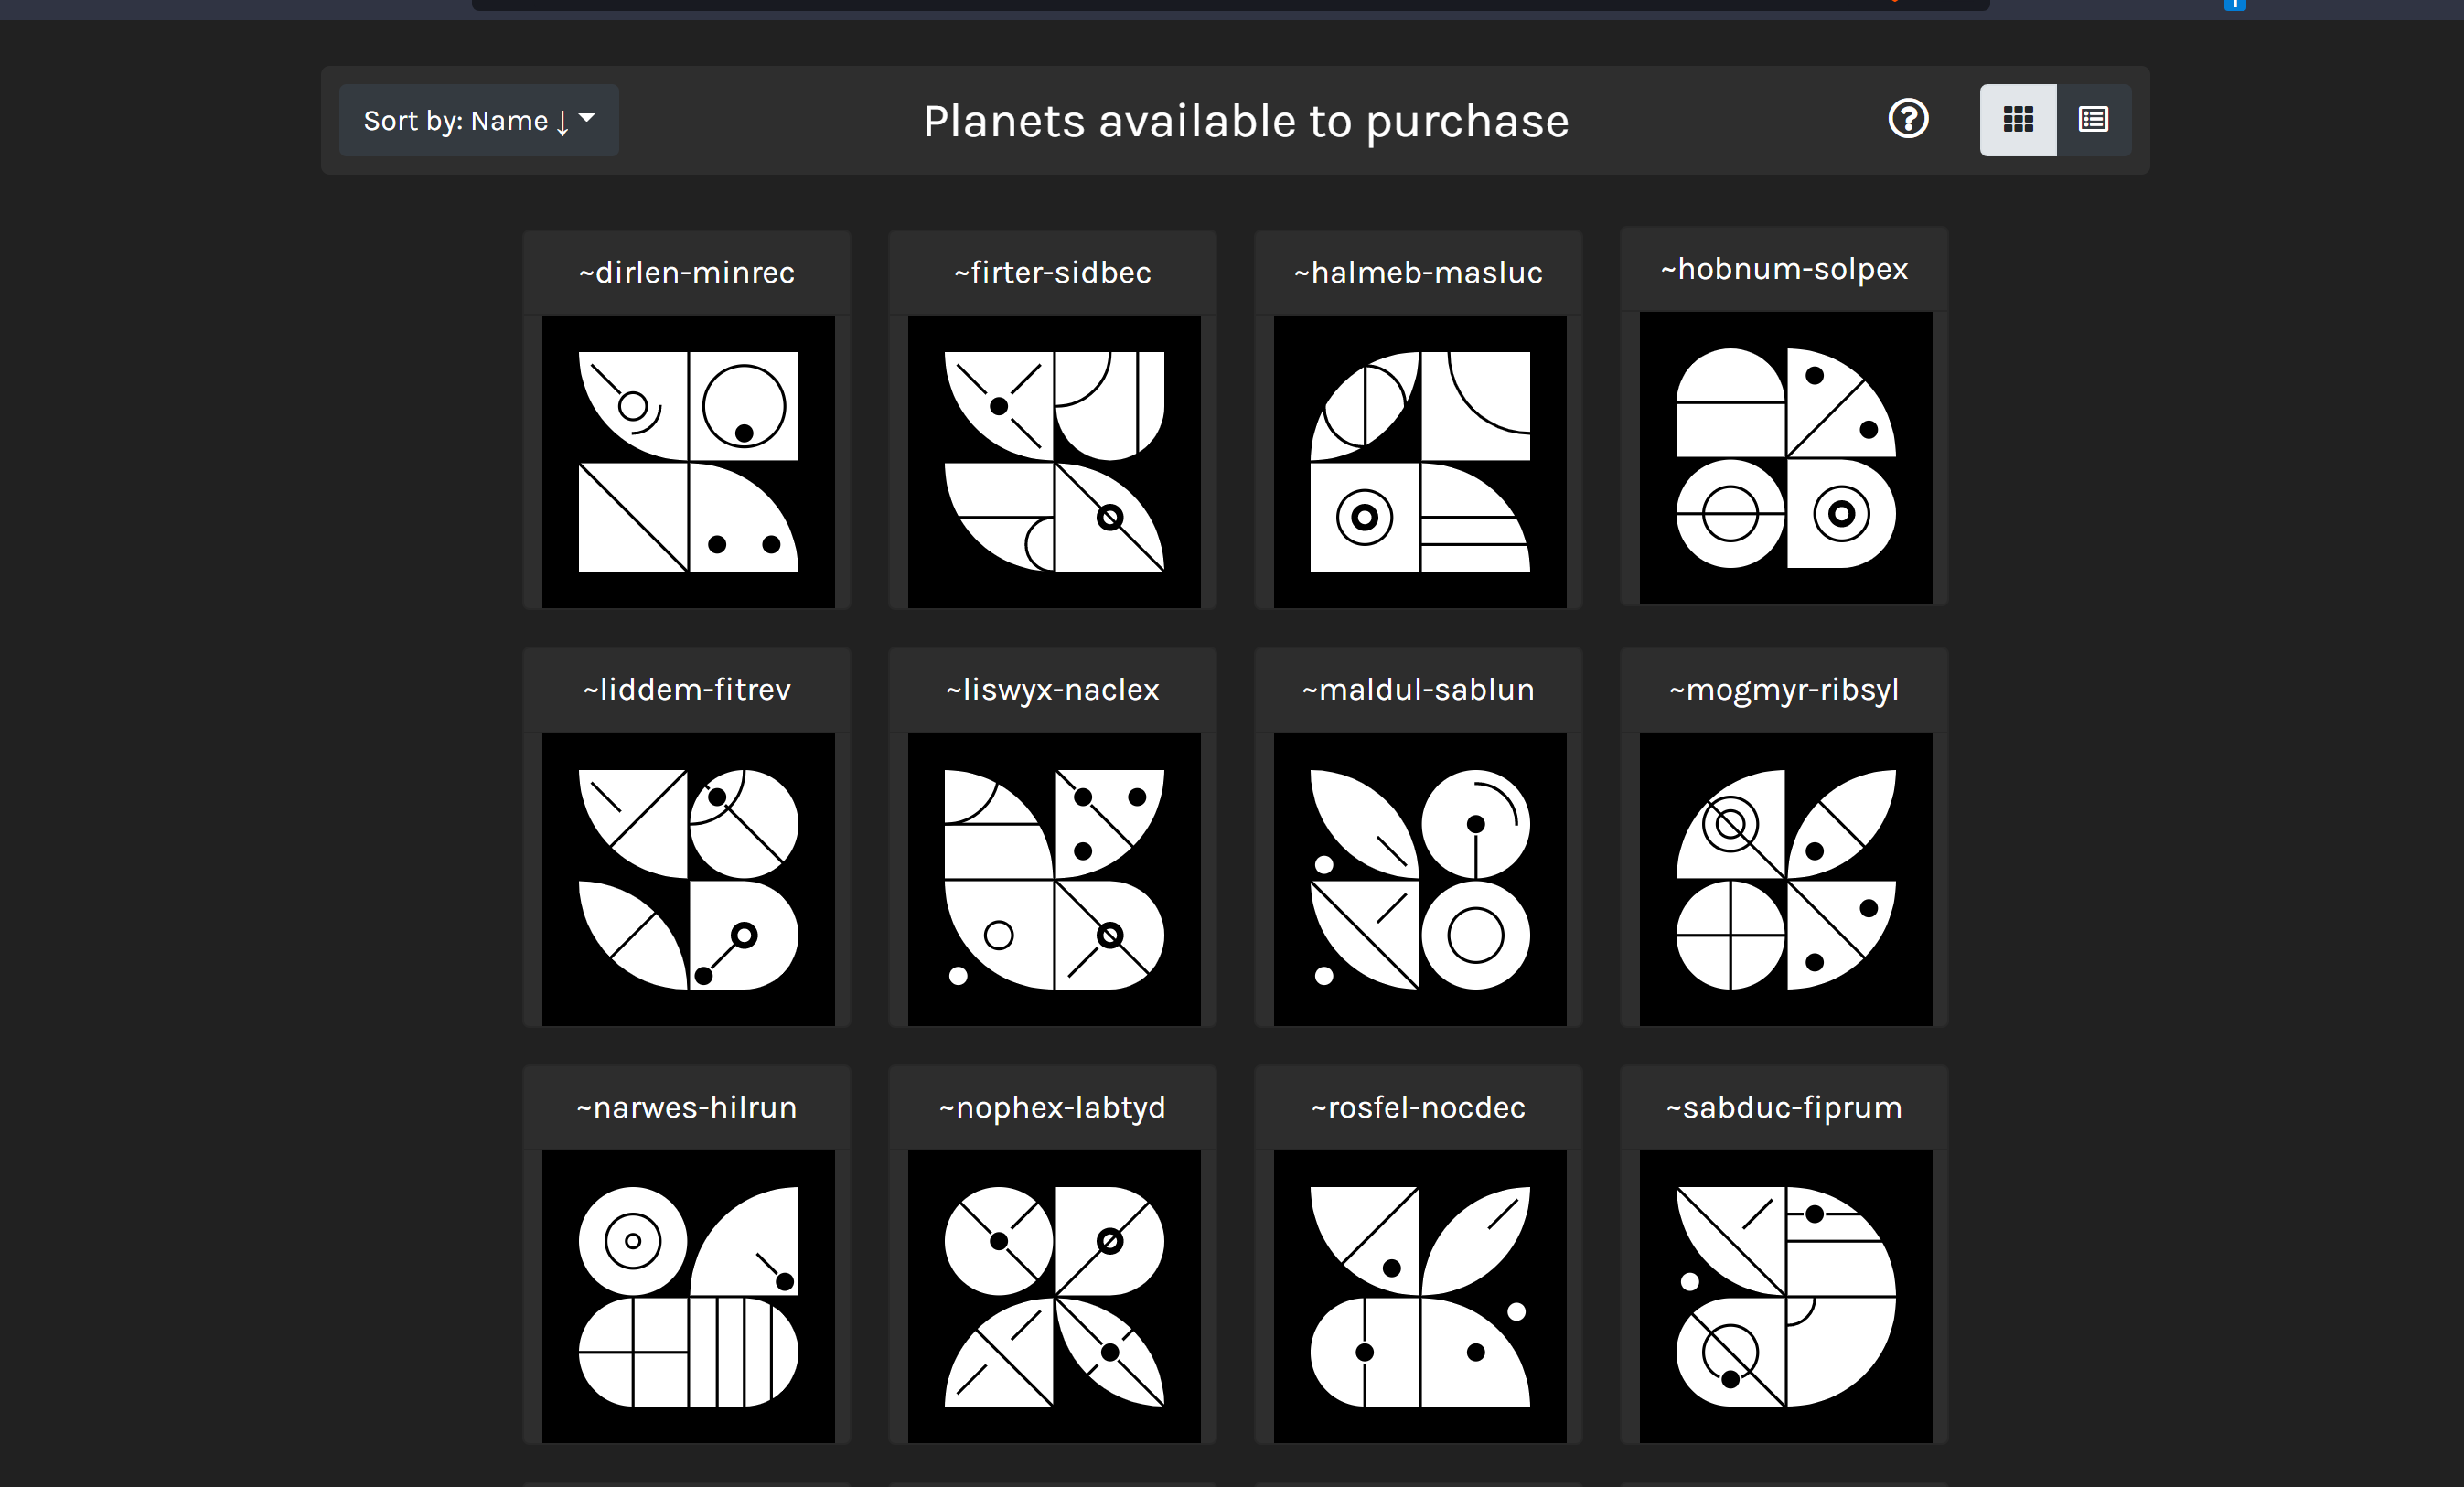
The first? Purchase a planet.
Planets are a permanent Urbit digital identity, once you own a planet, it’s yours forever. These are your keys to entering the Urbit landscape.
There are a couple of different ways to get your hands on a planet, you can:
Receive one via an invitation from a friend (or stranger)
Purchase a planet and hosting via a hosting provider:
Manually setup and host your planet after purchasing from a third-party provider:
Note: All hosting providers and third-party planet marketplaces have been officially approved by the Urbit team and can be found in their docs here →Urbit Docs
If you’re not ready to commit to buying a planet, you can boot a free ID known as a comet.
Comets are free and disposable Urbit identities that will let you try out the platform.
Step 2A: Installing Urbit locally via Port

What is Port?
Port is an Urbit graphical user interface application that is available for Linux, macOS, and Windows devices.
If you’re looking for the easiest way to get started and test out the interface downloading Port and booting a comet is the easiest way to go.
If you already have a planet you can choose to boot your planet through Port, however in doing this your planet will only run locally (versus on the cloud.)
You can download Port here.
Note: Urbit essentially turns your personal computer into a personal server, booting your planet locally restricts your server to only being accessible locally. By booting your planet on the cloud via a virtual private server you can access your Urbit OS from any standard web browser (including your smartphone).
Step 2B: Installing your Urbit Ship on a Virtual Private Server

Now for the fun stuff!
For the sake of this guide, we will be using Digital Ocean to host our Urbit planet. You are more than welcome to use AWS or any other VPS service. The recommended specifications for Urbit are 2GB RAM and 5-50GB storage.
If you have zero technical experience just follow along and we can show you the way!
Start by creating a Digital Ocean account and creating your first droplet with these settings:

Image: Ubuntu 20.04 x64
CPU: Regular Intel with SSD
Plan: $10/mo -2GB RAM/1 CPU, 50GB SSD, 2TB Transfer
Add Block Storage: Skip
Datacenter Region: Choose the region that is closest to you
VPC Network: Skip
Additional Options: Skip
Authentication: SSH Keys. Click under new SSH keys and follow this guide to create one
How many Droplets: 1
Choose a Hostname: Get creative! This can be anything you want it to be.
Add Tags: Skip
Projects: This is your first project, so it will be selected by default
Backups: Optional
Once you have these settings configured, click on create droplet and we can get started with installing Urbit.
While we’re on Digital Ocean we can access the console directly by clicking under more → Acess Console → Launch Droplet Console.
This will boot up the Ubuntu Command-Line Interface where we can begin downloading Urbit.
Note: Things are about to get real technical, just follow along and you’ll be able to have your Urbit up and running in no time!
Before we download Urbit, we’re going to configure our Droplet. We’ll get a firewall set up, open port 34543 for Urbit to use, allocate some swap space on the server for Urbit, and create our Urbit directory, to do so just copy and paste these commands:
*paste the code below to setup firewall*

sudo ufw allow OpenSSH
sudo ufw allow www
sudo ufw allow https
sudo ufw allow 34543/udp
sudo ufw enable

*paste the code below to allocate swap space*

sudo fallocate -l 2G /swapfile
sudo chmod 600 /swapfile
sudo mkswap /swapfile
sudo swapon /swapfile
sudo cp /etc/fstab /etc/fstab.bak
echo '/swapfile none swap sw 0 0' | sudo tee -a /etc/fstab

*paste the code below to create a directory*

mkdir ~/urbit
cd ~/urbit
wget --content-disposition https://urbit.org/install/linux64/latest
tar zxvf ./linux64.tgz --strip=1
cd ..
~/urbit/urbit
It will take some time for Urbit to finish installing, you will know it’s ready when you see an output beginning with Urbit: a personal server operating function.
Great! we’ve got Urbit setup on our VPS, now we just need to install our planet and we’ll be ready to access the system.
Step 3: Obtain your Planet’s Keyfile
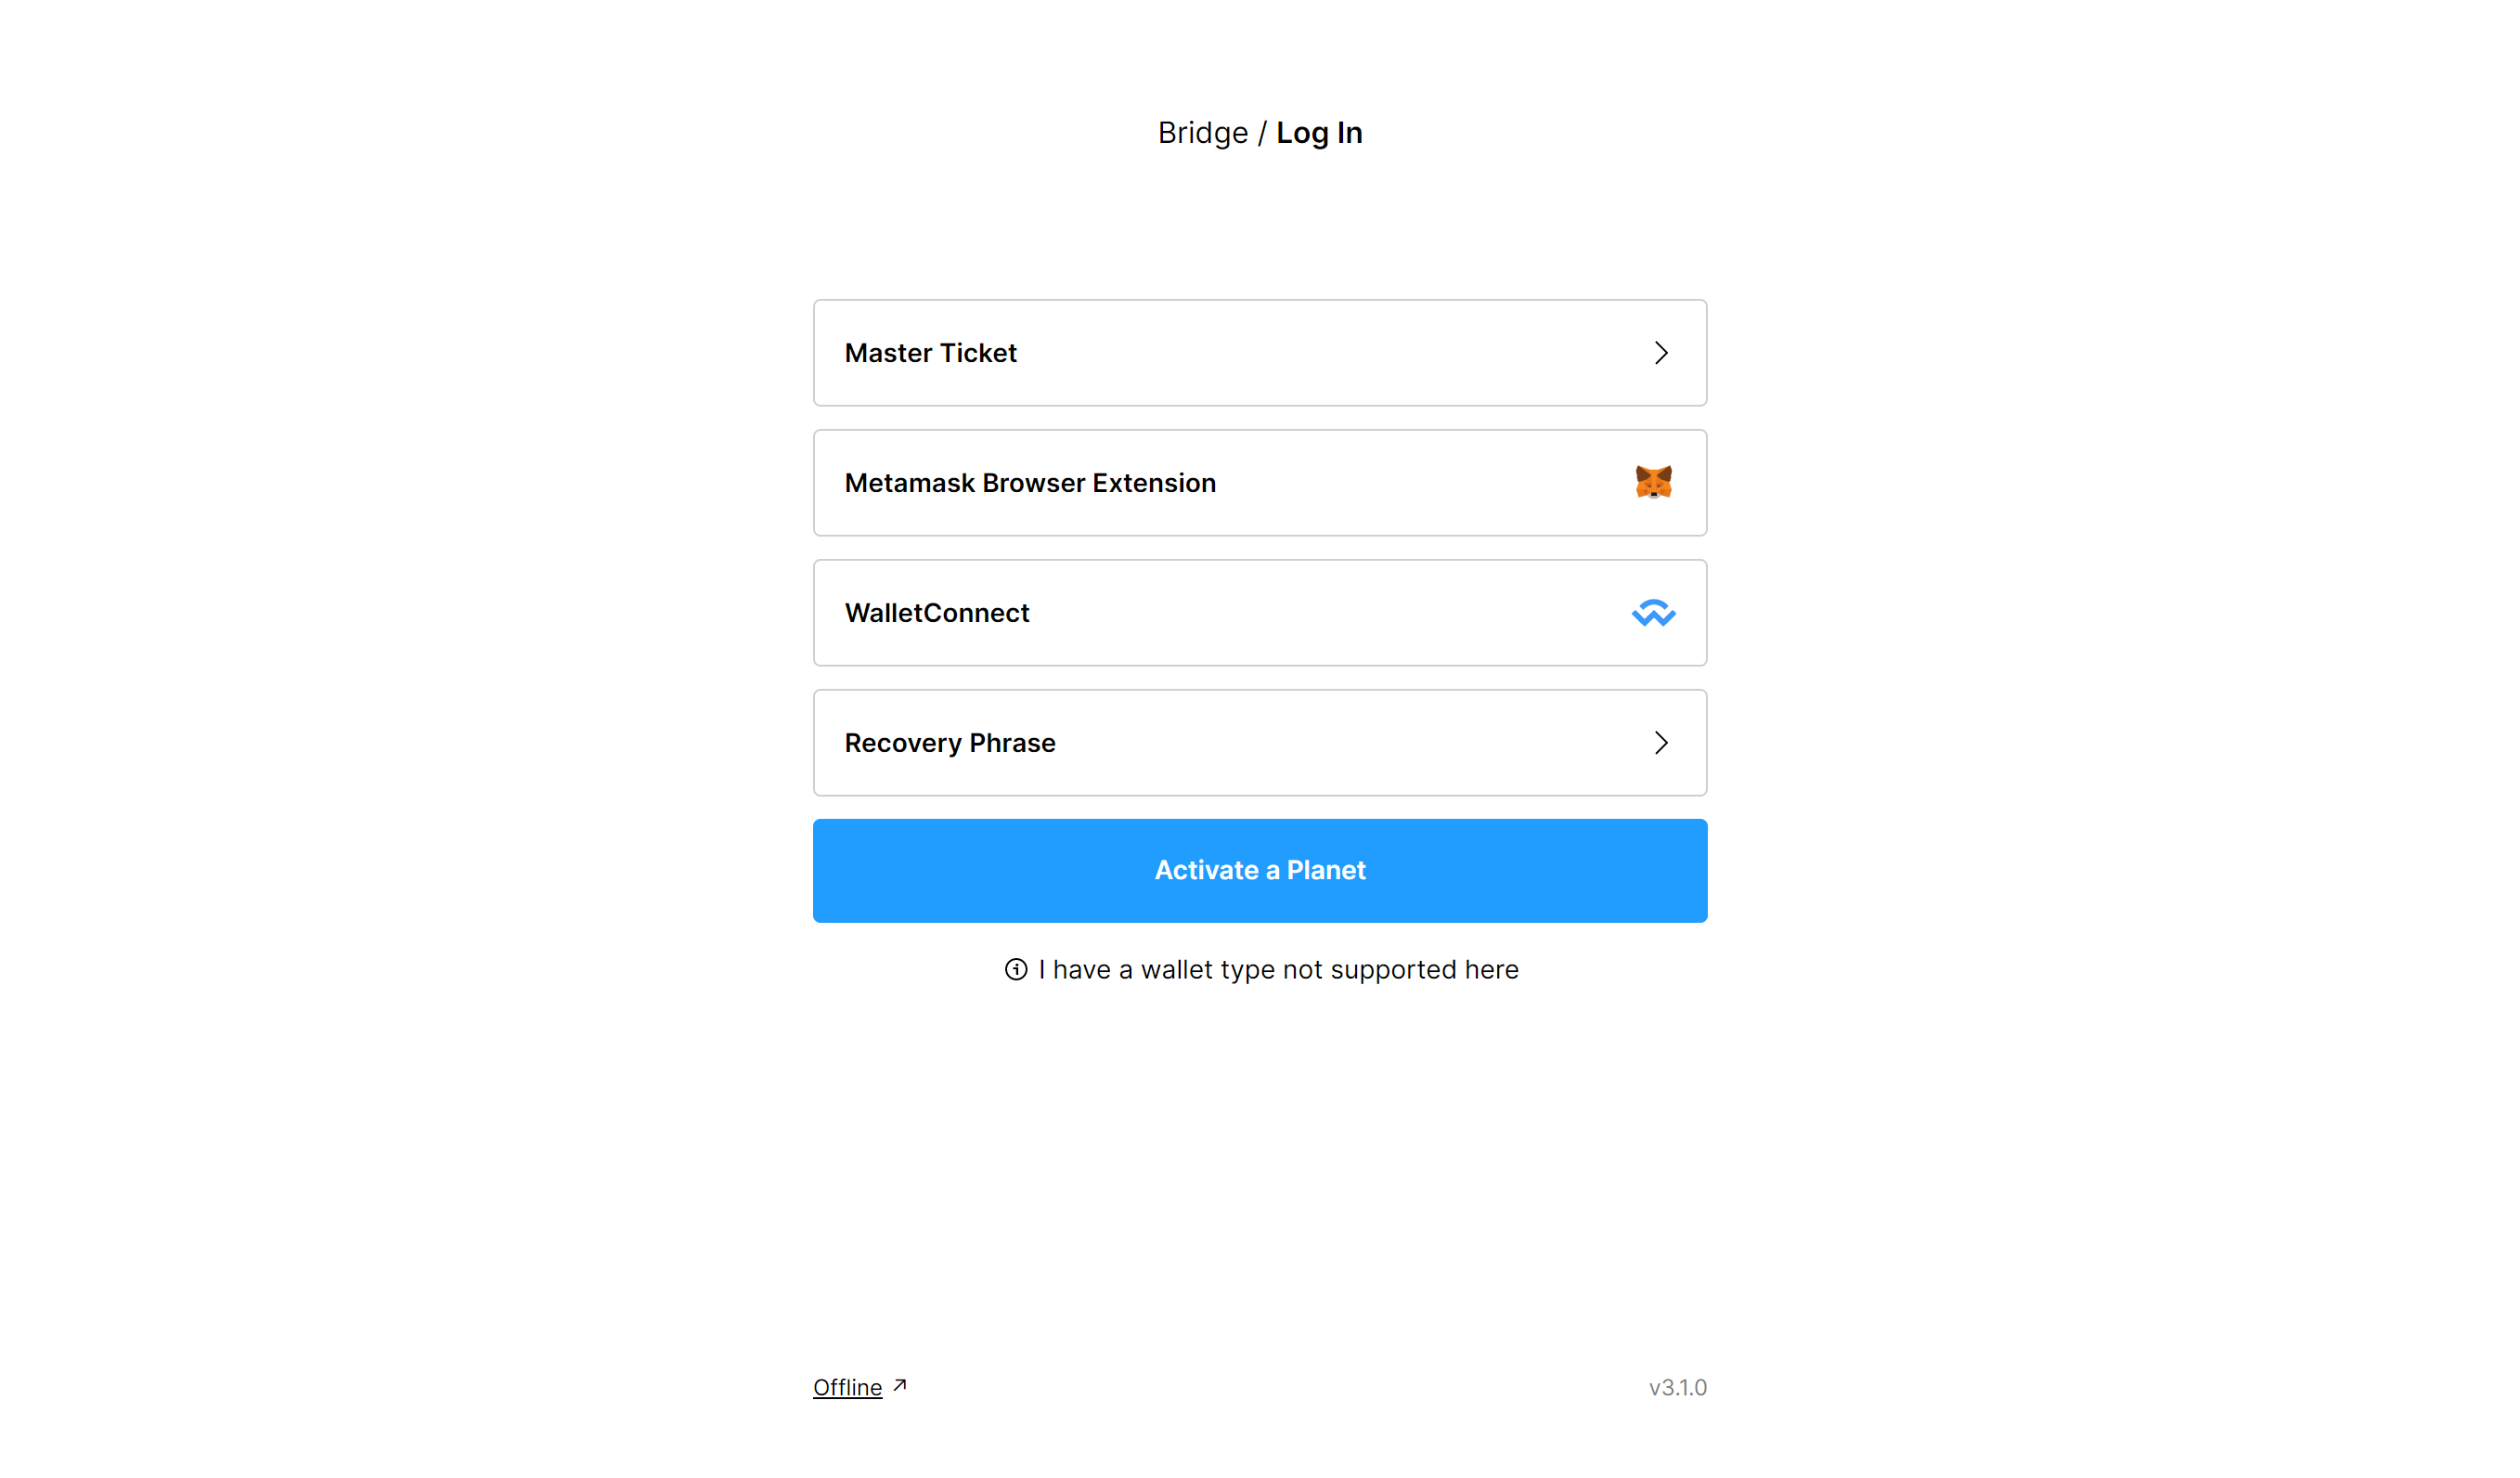
To finish booting our planet onto our VPS, we first need to go to the Urbit bridge to access our Keyfile.
Visit bridge.urbit.org and log in via Metamask (if you purchased your planet through one of the third-party providers) or via Master Ticket if you received your planet from someone who is already on Urbit.
Once logged in you’ll see your Urbit ID and its master key and seed phrase.
Do not share this information with anyone.
Next, we’ll navigate to → OS: Urbit OS settings → Initialize Networking Keys → Set Networking Keys → Send Transaction.
You may need to pay a small fee to submit the transaction (roughly .002 ETH).
Once completed a button saying Download Keyfile should be available and will download a .key file that contains the key needed to boot your planet. Copy the contents of the Keyfile and let’s head back to the tab with our Droplet Console.
Step 4: Configuring your Planet
Now that we’re back in our console enter the following command
nano keyfile.keyNow let’s paste the contents of our Keyfile and then we’ll press ctrl-x, then y, then enter to save and exit.
Next, we’ll enter the following commands to boot our planet
~/urbit/urbit -w <your-planet> -k keyfile.keyReplace <your-planet> with your planets name without including the tilde ‘~’
It should take about 15-20 minutes to boot, sit back and let the computer do its thing. You’ll know this is finished when the block says <your-planet>:dojo>
Dojo is the Urbit terminal, similar to the CLI (Command-Line Interface) we’re using to install Urbit. Once completed we’ll enter the following command to mount the filesystem:
|mount%Success! We’re all set up, now we’ll shut down our planet using ctrl-d, and we’ll shred our Keyfile since it is no longer needed to start up our planet.
Shred the Keyfile using the commands below:
shred -vzn 3 keyfile.key
rm keyfile.key
Next up we’ll establish a screen session so we can keep Urbit running continuously in the background, copy and paste:
screen -S urbitA new terminal window will pop up and we start up our planet in this screen session using:
~/urbit/urbit -p 34543 <your-planet>

*once booted enter the command below*

+code
This will generate an access key, the equivalent to a password for your planet, keep this safe and handy, we will need it in the next step.
Note: If you lose this access key for any reason you can always access it again through the bridge portal.
Now that we’ve got our planet running and password handy, we can shut down the screen session using ctrl-a then d.
Step 5: Accessing the Urbit Landscape
Congratulations! You have successfully installed Urbit and booted your ship.
What’s next? Accessing Landscape the graphical interface of Urbit. Now that we have our server running we can access the Urbit landscape by going directly through your Droplet’s IPv4 address.
You can find this in the upper left-hand corner right underneath your Droplet name. It should look something like this: (123.45.678.90). It will take a couple of minutes to load considering this is our first time booting the system.

Once it’s ready you’ll be greeted with a login screen like the one above (this is where you need your access key). Enter your planet’s name and paste the address key and you’re good to go!
For the sake of email length, we’ll need to cut this post a little short. We’ll pick up where we left off next week and we’ll go over setting up an S3 bucket for our newly booted Urbit ship!
Thanks a lot for this walk through. Urbit sounds very interesting. What can you do on Urbit? When I checked last time the content was pretty narrow.
Been wanting to check this out. Thanks for the article !